Yesterday I started putting my motor back together.
Nikola walked me through the steps yesterday with the rear cylinder, and I repeated that today on my own for the front cylinder. BUT while I lubed both cylinder bores, I did not lube either piston so I needed to redo both of them. That was my arm workout for the week--they weigh about 25 pounds each because they're made out of cast iron, and wiggling them on and off a couple of times each took good arm strength. Lubing is essential as part of the engine assembly process. If you forget or fail to lube any part, you're going to have major engine trouble.
Remember these--the cast iron cylinders, which I sanded and painted?

Took off the tape, top.

Bottom. Took off the old gasket.

Scraped off gasket remnants with razor blade.

Used 60W oil and a few squares of toilet paper, folded up, to clean and lubricate the inside of the cylinder.
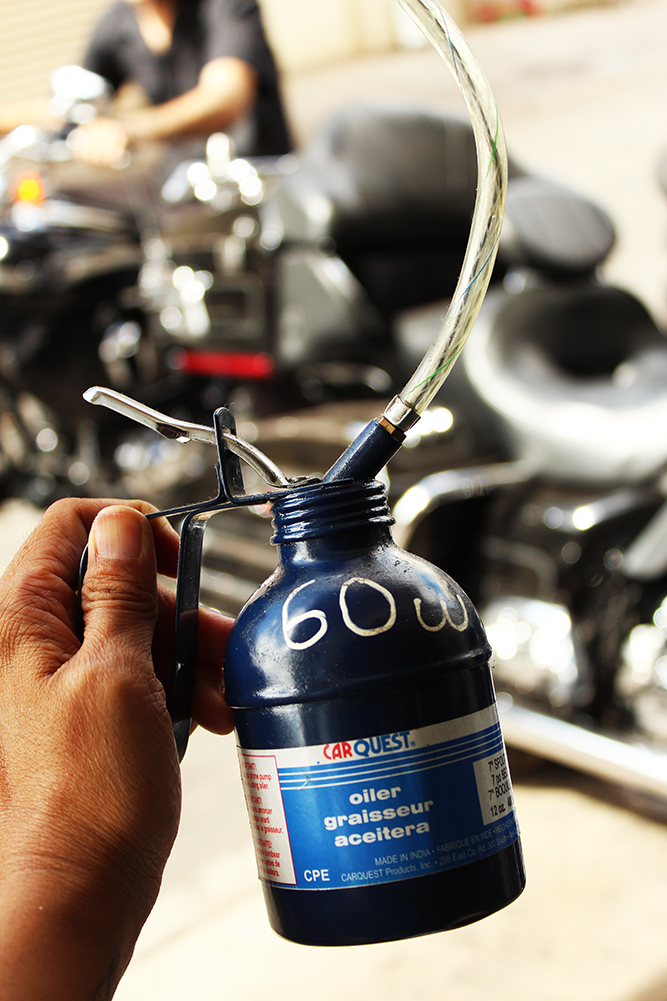
Squirted a bit of oil in the cylinder, and started on one side and repeated all around, on top and bottom halves.

A diagram of the cylinder components from my service manual.

Checked the fit of the gasket on the bottom of the cylinder.

Placed the gasket on the cylinder base.

Spaced ring gaps about equidistant around piston. Made sure they were staggered otherwise if there were gaps where air could escape, the compression would be low resulting in poor engine performance.

Then lubed the piston with extreme pressure, anti-seize engine assembly lube.

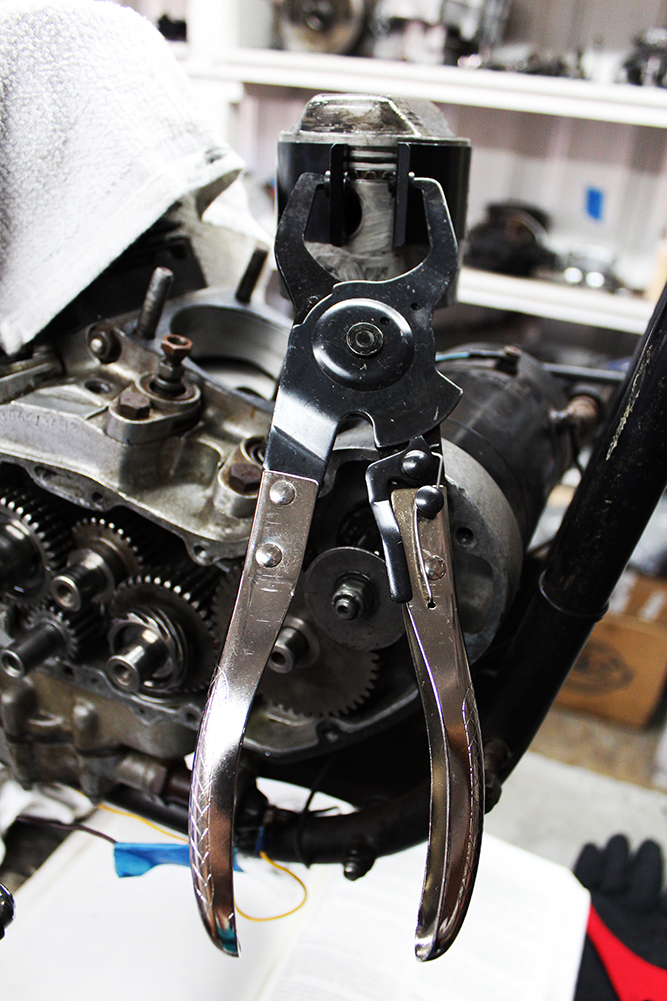
Placed the piston inserter ring tool around the piston and secured with the piston ring compressor.
Placed the cylinder over the piston.

Used a rubber hammer and alternated tapping the front and back onto the piston. My lovely assistant Nikola held the cylinder and piston up while I tapped.

Once the cylinder cleared the rings, removed the piston inserter ring and compressor tool and used my hand to pound the top of the cylinder down.

Got the sucker on.

The top view. The movement of the pistons up and down compresses the air in the cylinder and this is part of the engine combustion process..

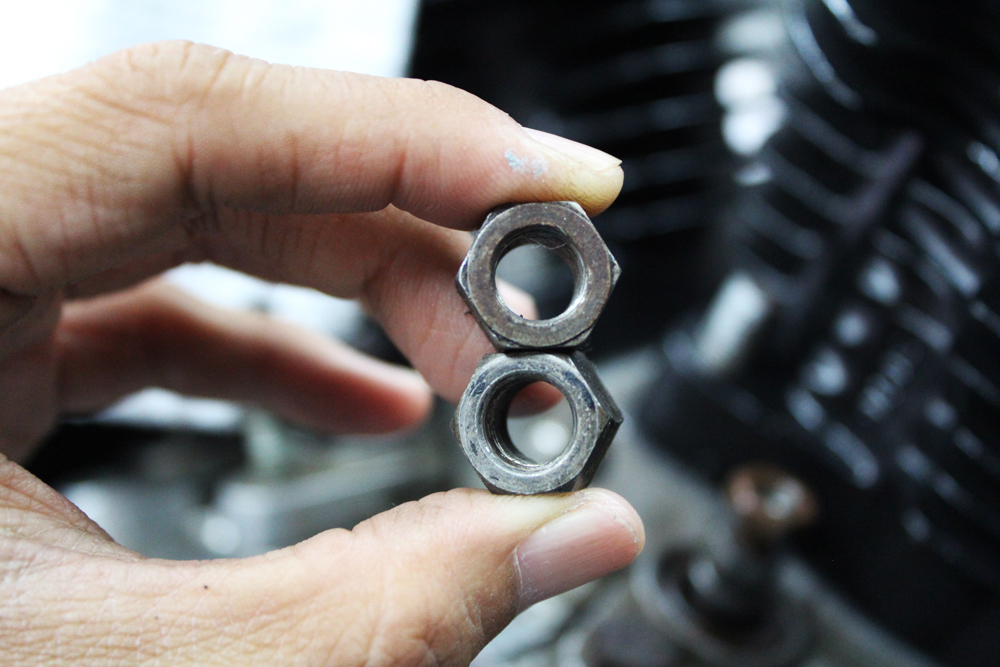
For these old nuts, important to put a bit of this anti-seize lube on the threads so they stay lubed and don't seize up the next time I need to take them off.

Just a bit on all of the threads.

Then got my nuts.

One side is dirtier than the other, which means that side was exposed. The clean side goes down.
Tightened each nut to a snug fit with a wrench in a criss cross fashion, so that the weight distributed evenly. The last step was to torque all the nuts to 30 ft lbs.

Here's my Buddhi positioning himself in the tight space near my lift to make sure I see his saddest face possible. Promise we'll go to the dog park and beach tomorrow morning, Bud!
